
How to Customize a Payment Form’s Payment Options
In This Document
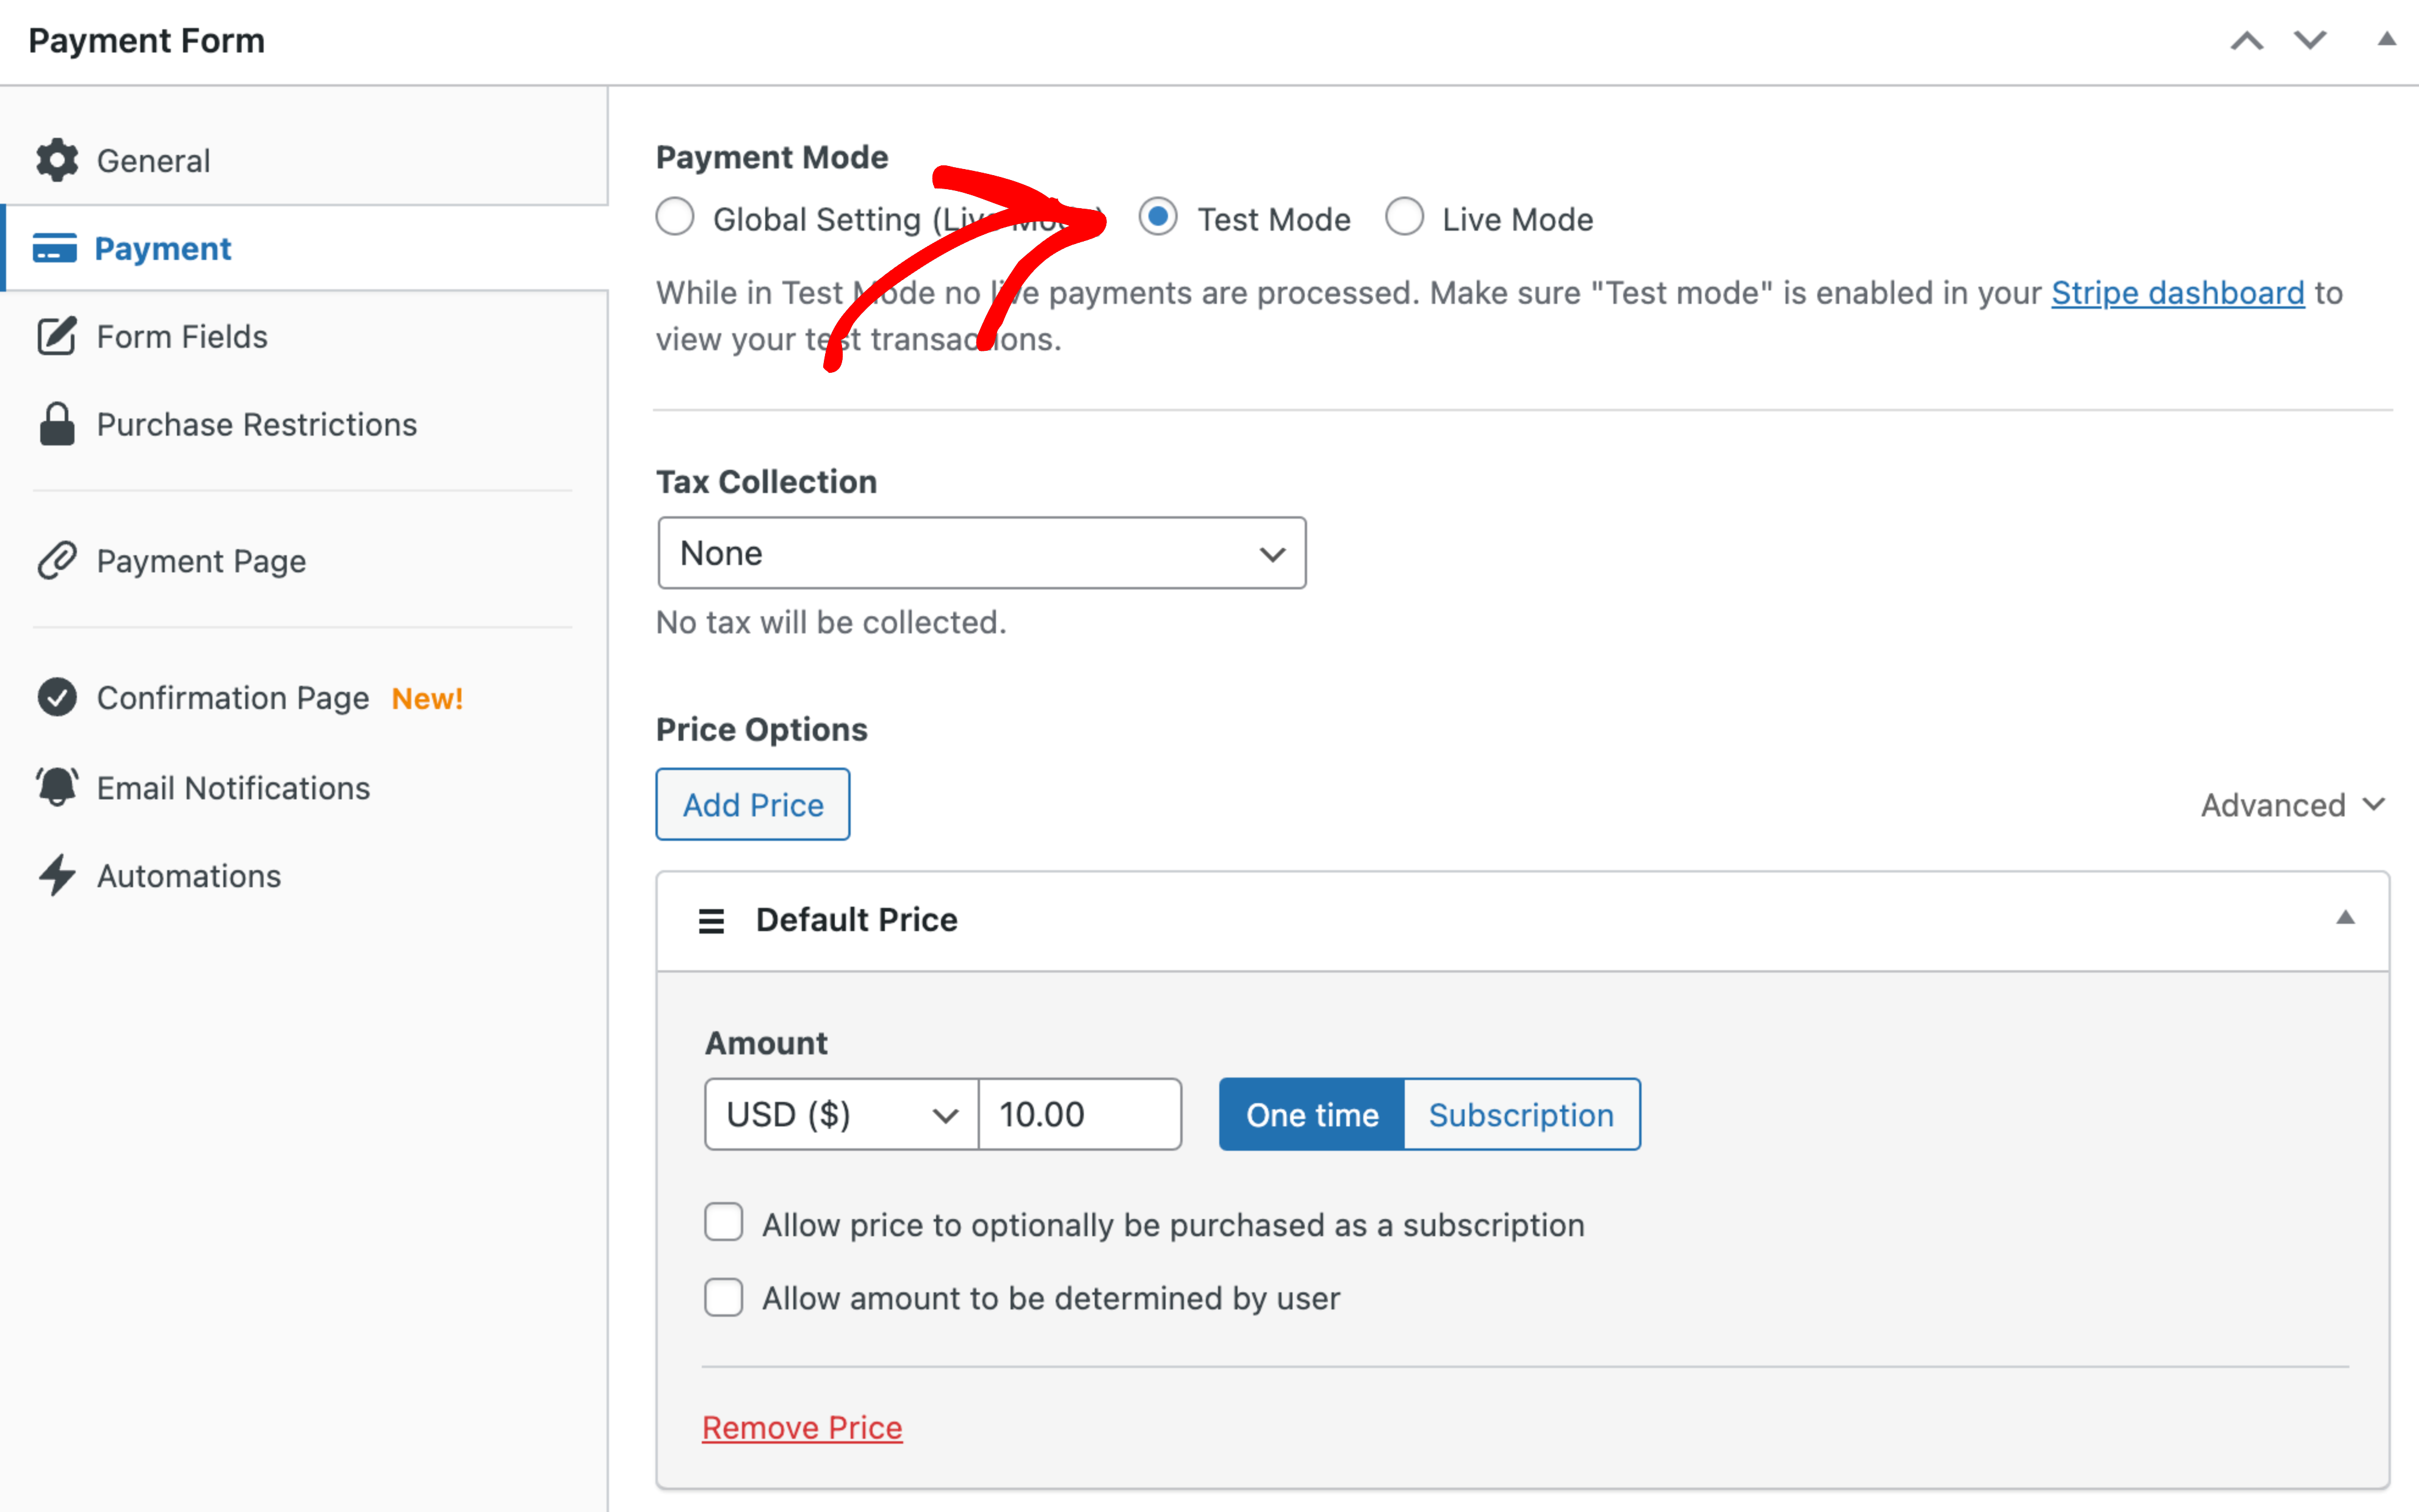
Payment Mode
By default, when a payment is made, the transaction is processed in the currently set global Test Mode setting found in WP Simple Pay → Settings → Stripe → Account.
This setting can be overridden for each payment form. Adjust the form’s Payment Mode to process transactions in a mode other than the global setting if you need to perform tests, gradually roll out additional forms, or similar.
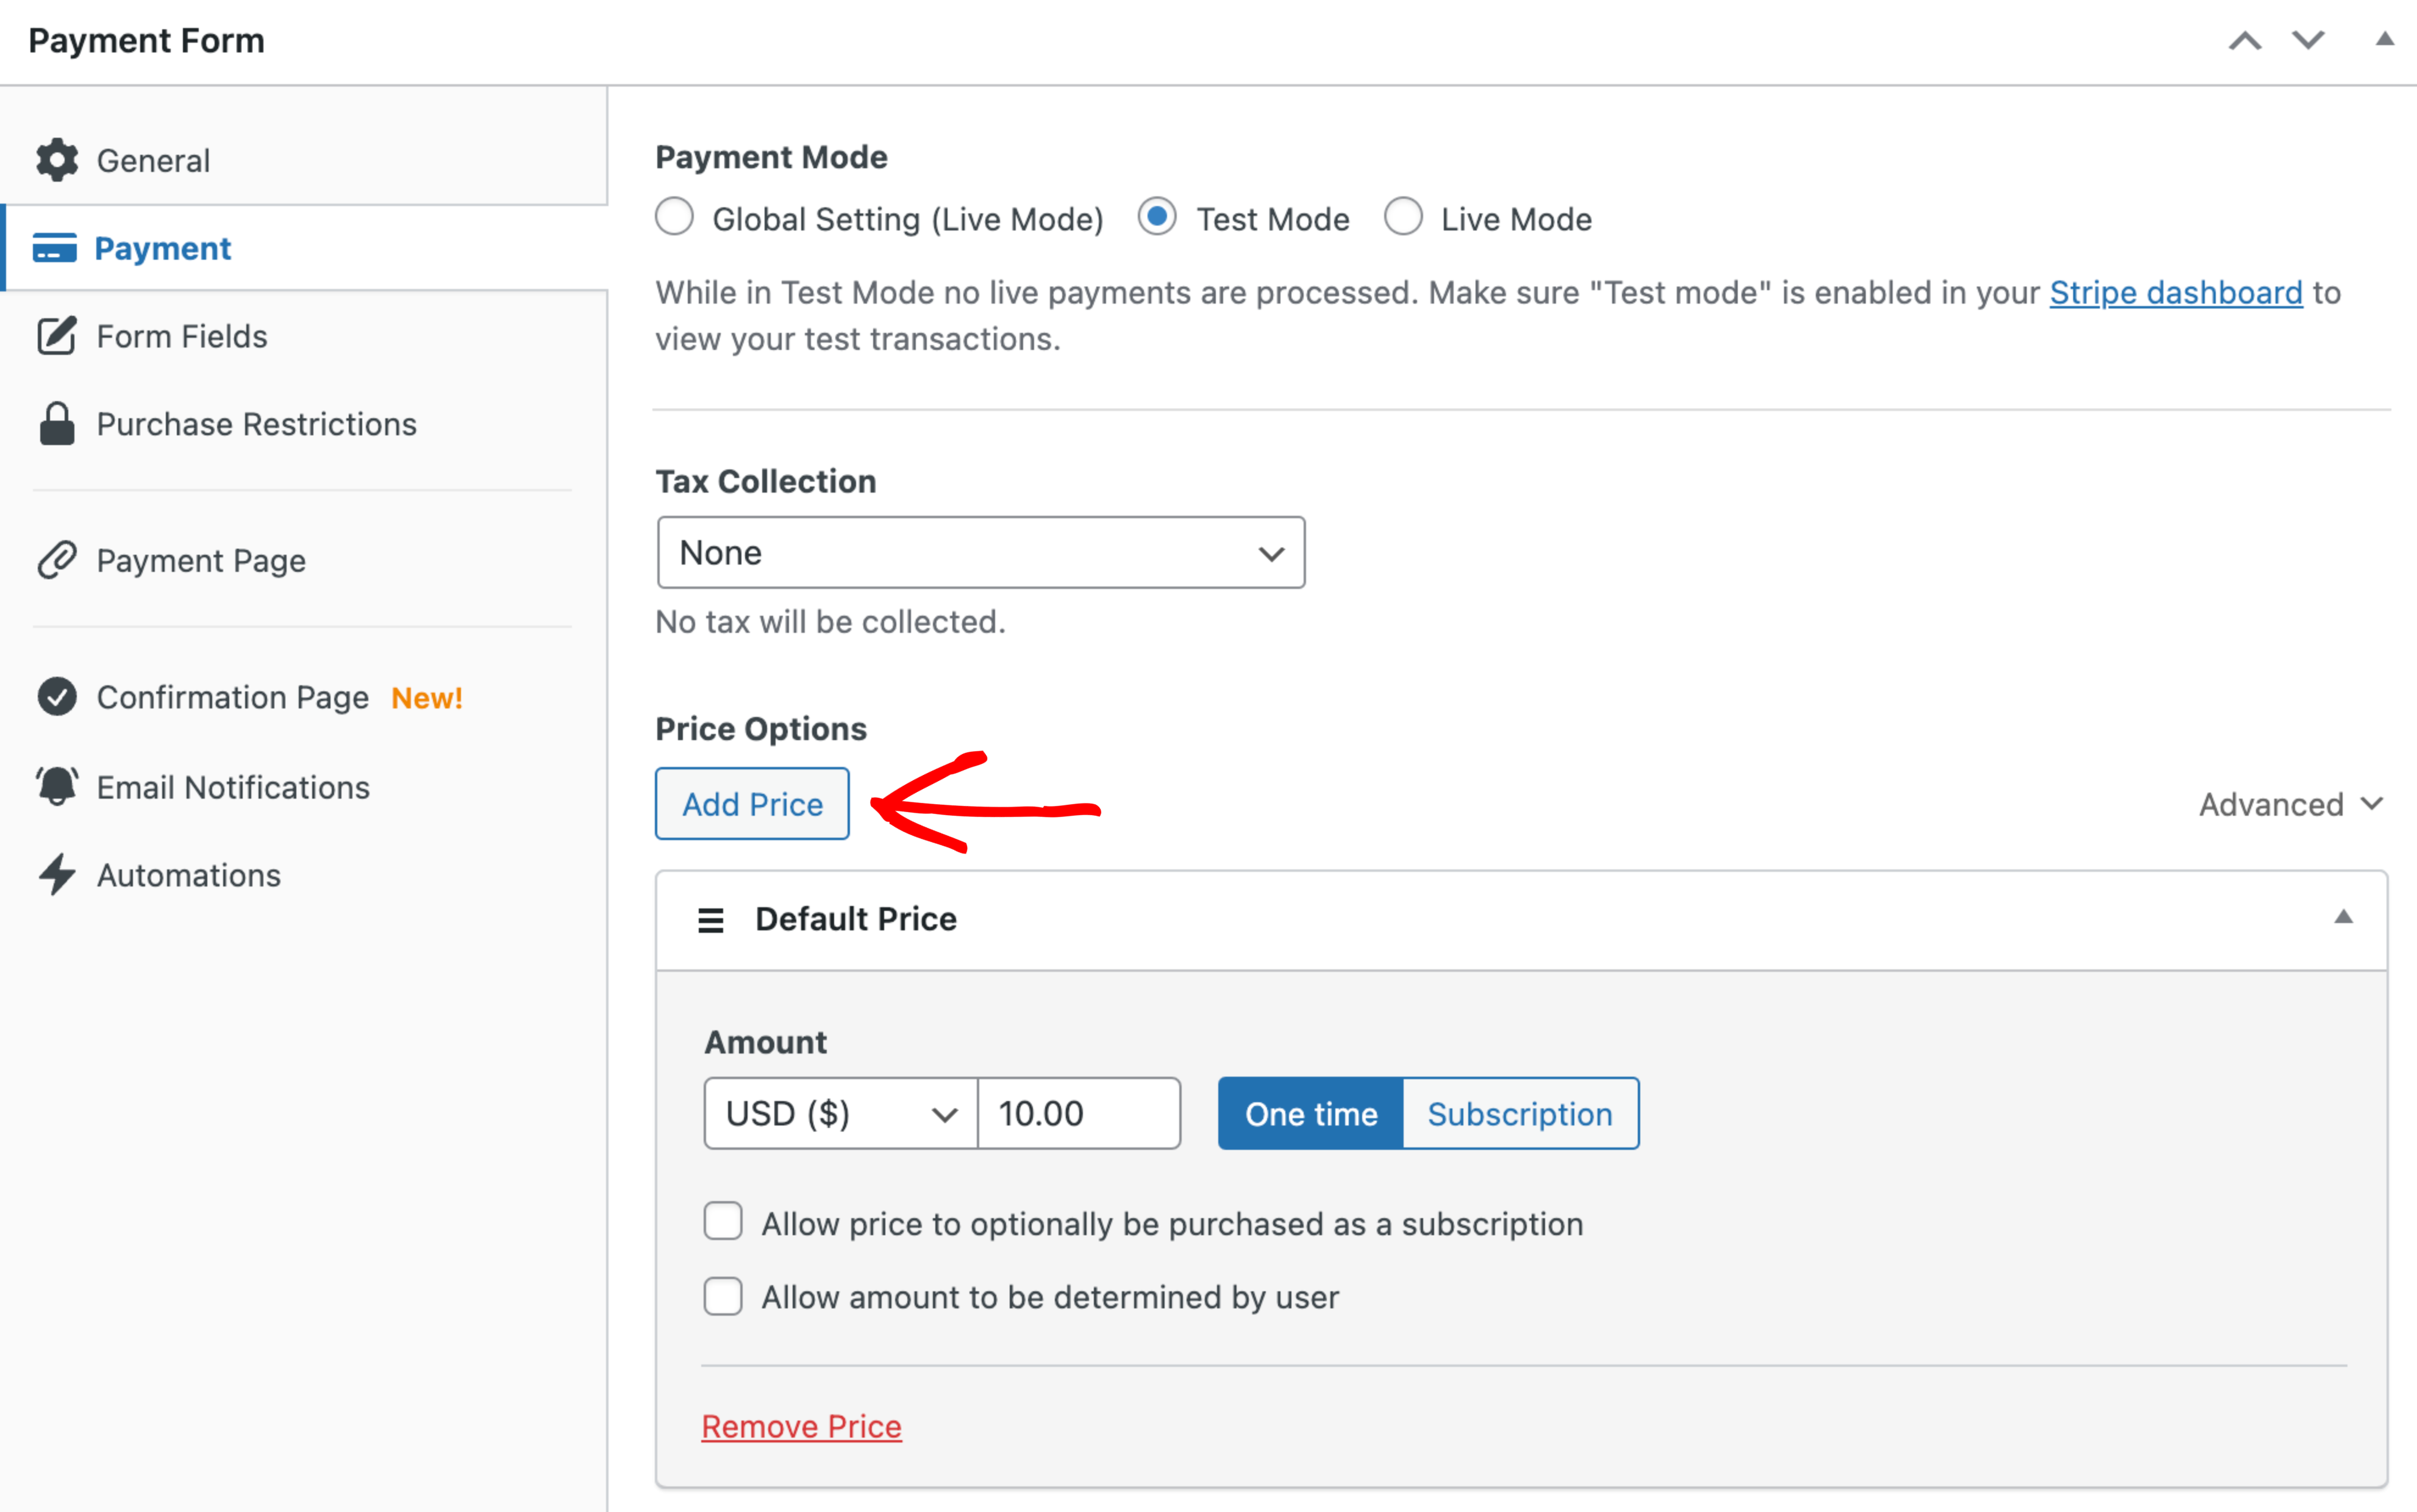
Price Options
A payment form can have a single price option (no price selector is shown), or many price options (a price selector is shown). To add a new price option, click Add Price.
If there is only one price option, the respective settings will automatically be applied to the payment and no price selector will be shown.
Label
Add an optional custom label for this price.
Amount
Select a currency and an amount for this price.
Amount Type
Determines if the payment will be one-time or recurring (subscription).
User-Controlled Amount Type
Allows a price to default to a one-time payment with the option to be optionally purchased as a subscription. When enabled a checkbox appears on the form builder that allows the payer to choose the amount type—great for donations!
Custom Payment Amount
Allows the payment amount to be determined by the user. When enabled a amount input will be added to the payment form, allowing a custom amount for the selected currency and amount type.
Subscription Settings
Billing Period
Determines the billing cycle—the interval of payments—for the price option.
Invoice Limit
Determines if the subscription payments should be cancelled after a set number of invoices/payments.The number entered should include the initial payment.
Free Trial
The number of days before subscription billing begins.
Setup Fee
An amount added to the initial invoice payment, but not subsequent invoices.
Adding an Existing Price or Plan
If you have a previously configured recurring Price (or legacy Plan) in Stripe that you would like to use as a price option, simply click “Advanced” and enter the ID of the object you want to add.
Payment Methods
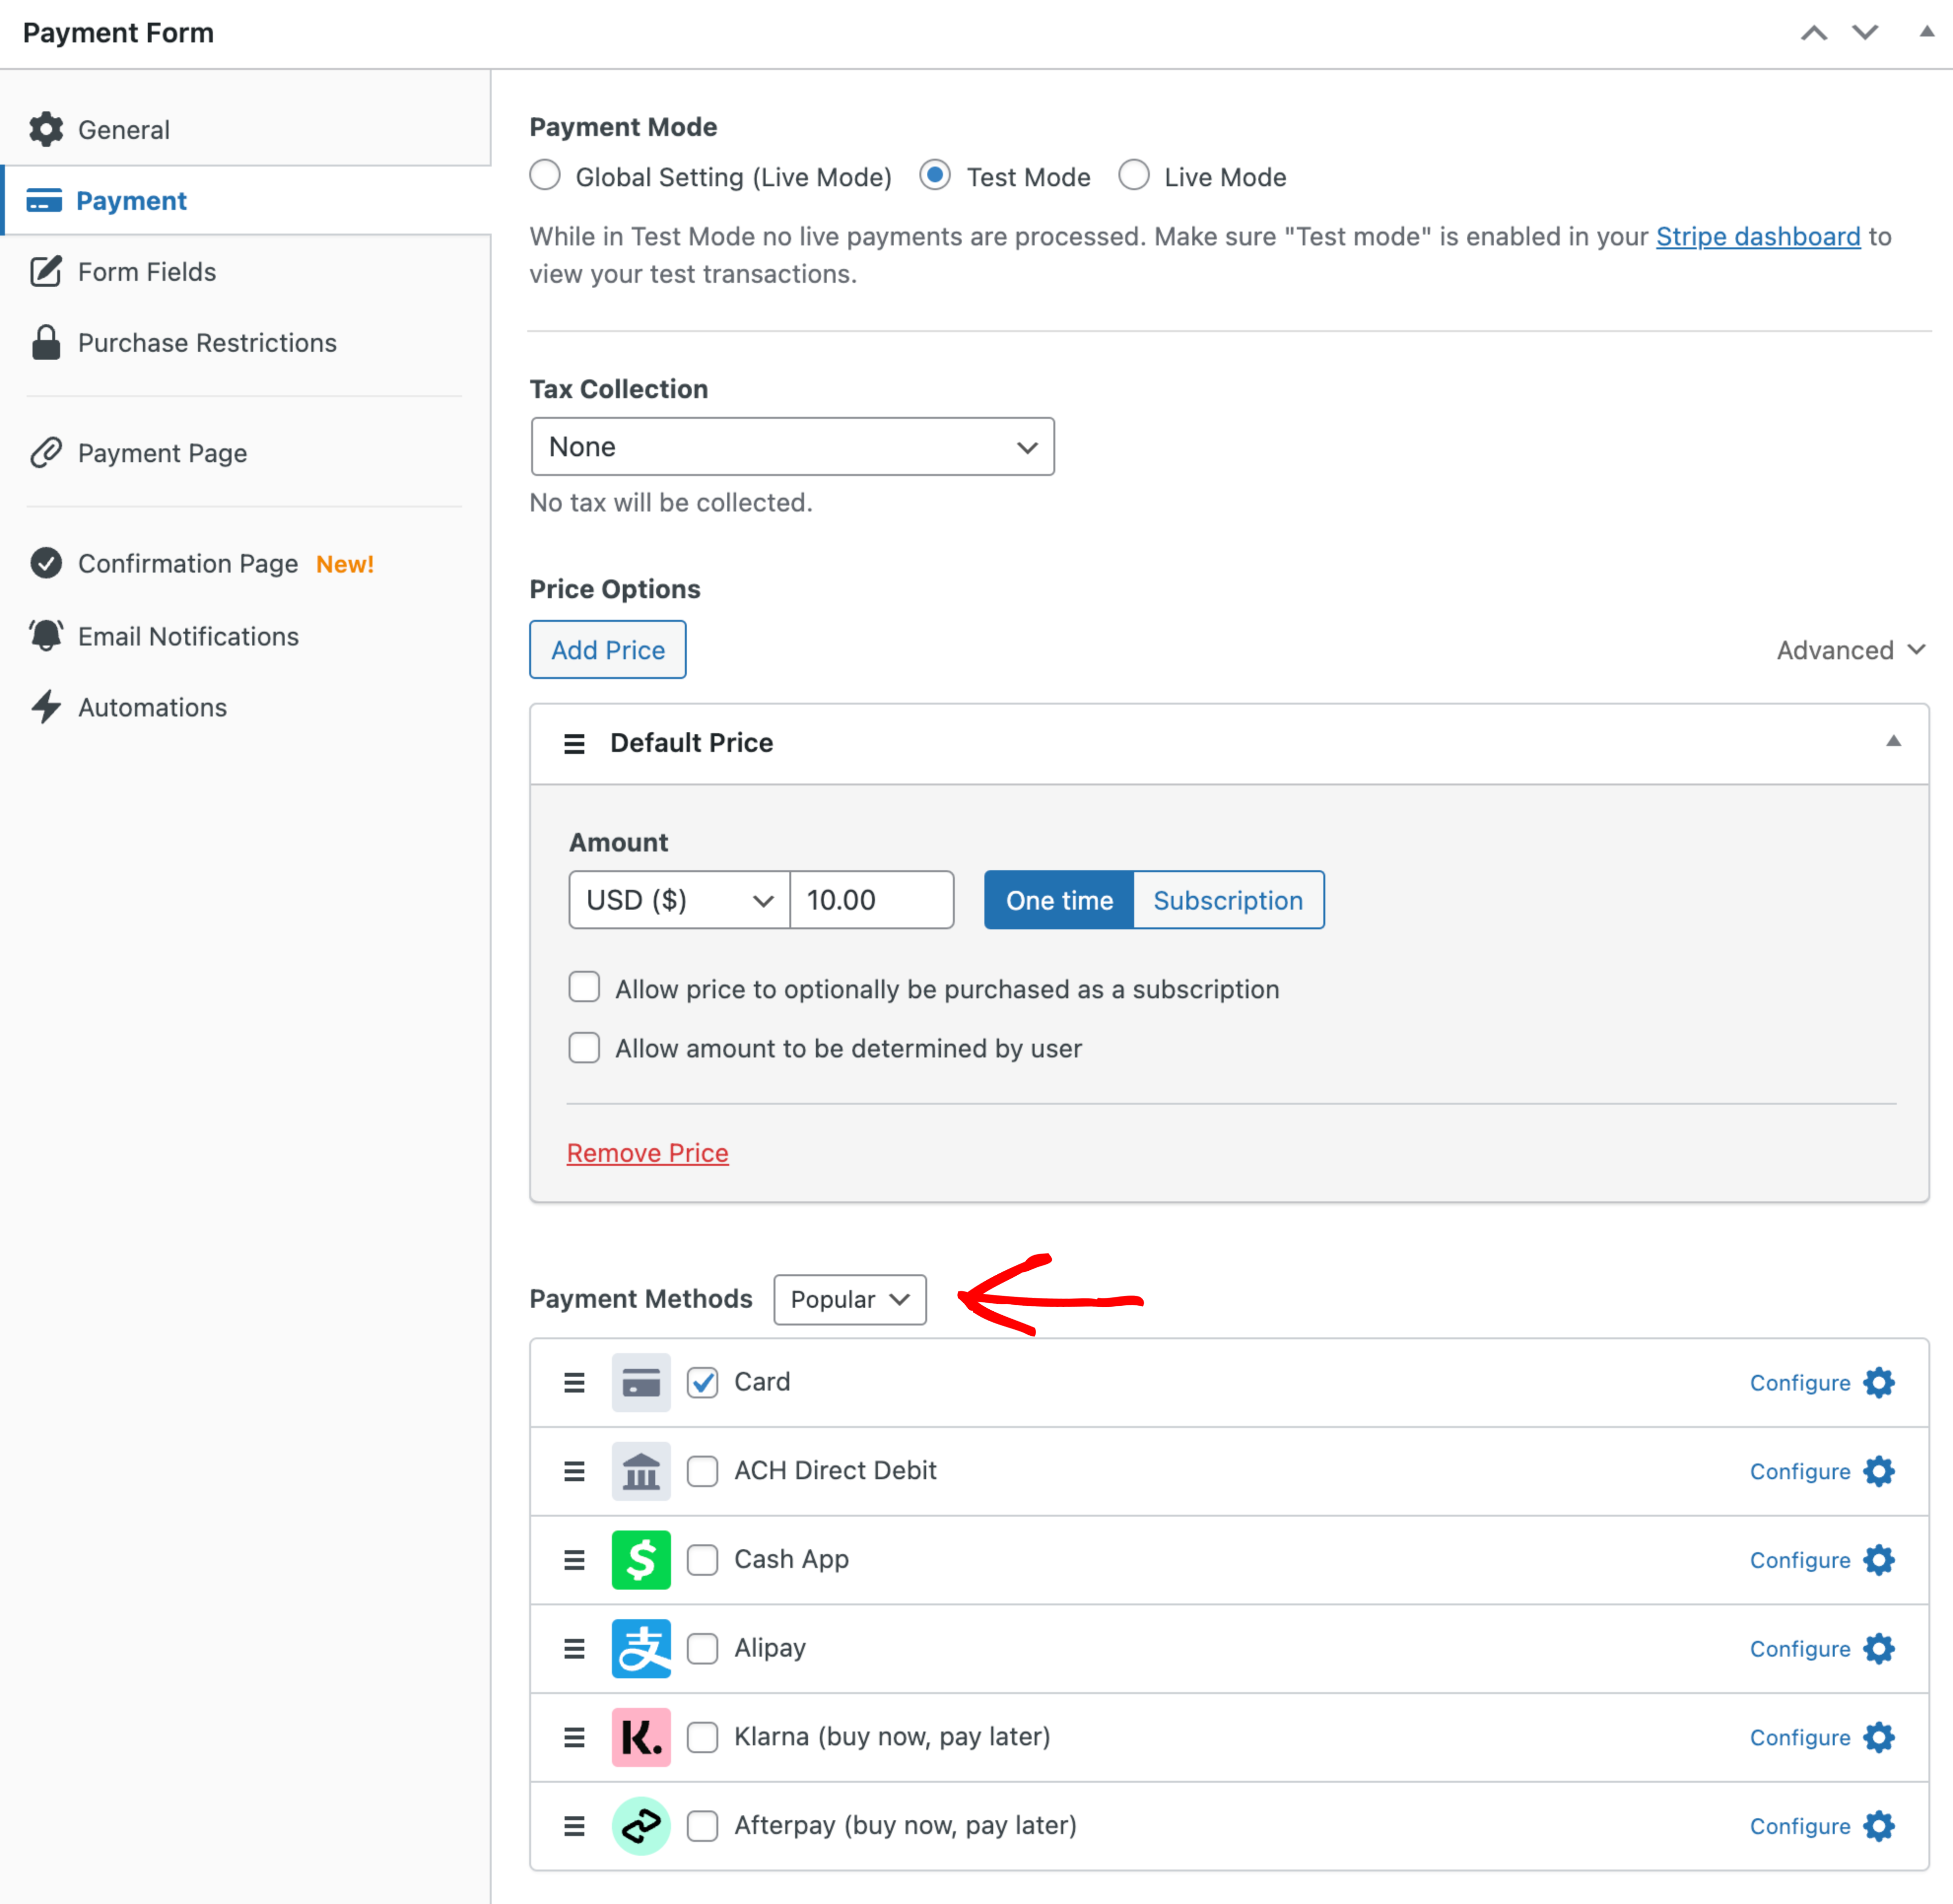
Enable the payment methods you wish to present to users on your payment form. Not all payment methods are available to all locales, license levels, etc.
- Card
- ACH Direct Debit
- SEPA Direct Debit
- Alipay
- Bancontact
- FPX
- giropay
- iDEAL
- Klarna (Buy now, pay later)
- Afterpay / Clearpay (Buy now, pay later)
- Przelewy24
- 1-Click Payments (Apple Pay / Google Pay)
Tax Collection
Determines how taxes are calculated for the payment. Learn more about tax collection →
Still have questions? We’re here to help!
Last Modified: